
How to Paint a Room Without Making a Mess: A Step-by-Step Guide
How to Paint a Room Without Making a Mess: A Step-by-Step Guide
Painting a room can be a rewarding project that refreshes your space, but it also comes with the potential for a big mess. Paint splatters, accidental spills, and smudges are common challenges, but with the right preparation and technique, you can achieve a professional-looking paint job without the stress of cleaning up afterward. Here’s a guide on how to paint a room efficiently while keeping things tidy.
1. Prepare the Room
Before you even open a paint can, take time to properly prepare the room. This step is crucial for mess prevention.
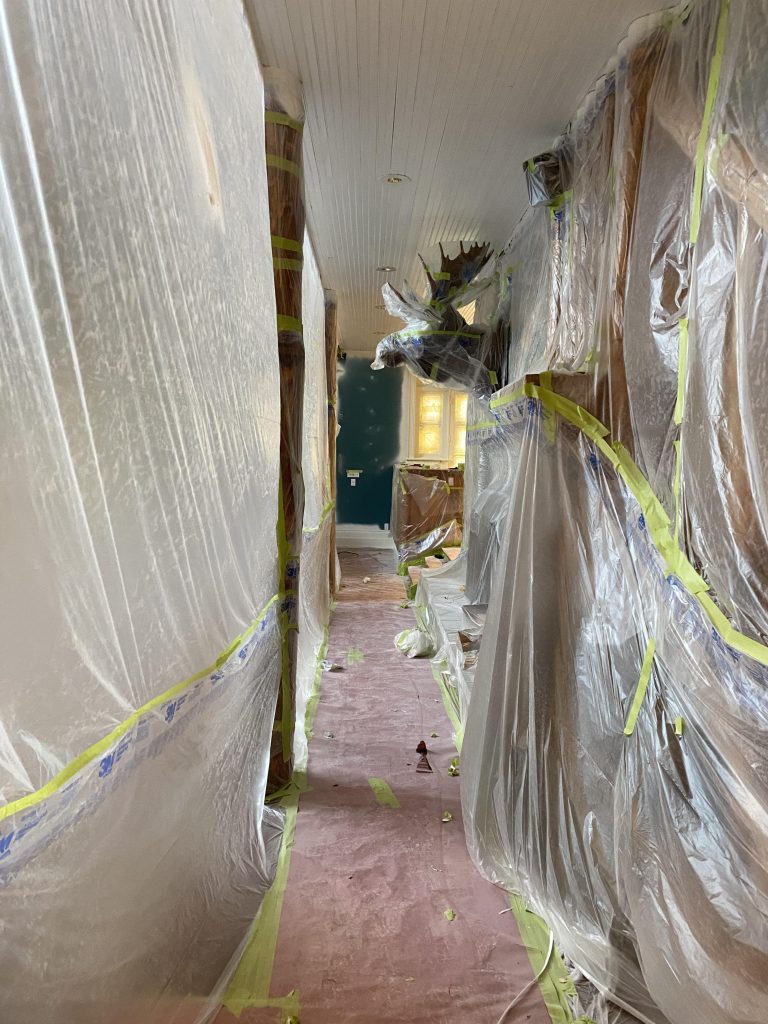
- Remove Furniture and Cover Items: If possible, move furniture out of the room. If that’s not an option, push everything to the centre of the room and cover it with drop cloths or plastic sheets. Make sure the covers are secured to avoid paint seeping through.
- Cover the Floors: Use drop cloths (canvas ones work best since they absorb paint) to cover the floors completely. Secure the edges with painter’s tape to prevent them from shifting. Avoid using old bed sheets, as paint can easily soak through.
- Remove or Cover Light Fixtures and Outlet Covers: Take down light fixtures if you can, or cover them with plastic bags and secure them with painter’s tape. Remove switch plates and outlet covers to avoid any accidental paint drips.
2. Use Painter’s Tape
For clean lines and to avoid smudges, apply painter’s tape along the edges of baseboards, window frames, and door frames. Make sure to press down firmly to prevent paint from seeping under the tape. Be sure to use a quality tape, as cheaper options can peel away your wall’s paint when you remove them.
3. Choose the Right Tools
The right tools make all the difference in reducing mess and ensuring a smooth painting process.
- Paint Trays: Use a sturdy paint tray with a disposable liner to avoid cleaning the tray between uses.
- Roller Covers: Choose a roller cover that matches the texture of your walls. A smooth wall needs a different nap (roller thickness) than a textured one. Using the wrong cover can lead to splatters.
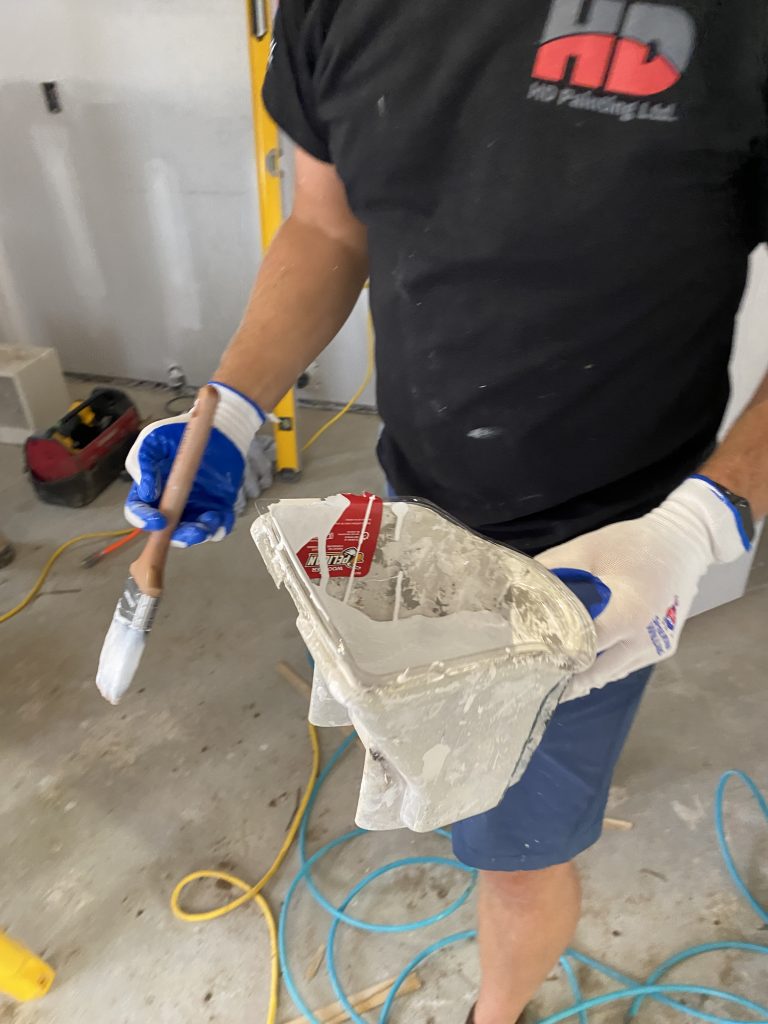
- Angled Brush: Use a good-quality angled brush for cutting in around corners and trim. This allows for better control and less mess compared to a regular brush.
4. Mix Paint Properly
Before you begin painting, make sure the paint is thoroughly mixed to avoid uneven colour and clumping. If the can has been sitting for a while, stir the paint with a stick or use a drill with a paint mixing attachment. This helps create a consistent finish and prevents surprises while painting.
5. Minimise Drips and Spills
- Don’t Overload the Brush or Roller: One of the biggest causes of mess is overloading your brush or roller with too much paint. Dip just the bottom third of the brush into the paint and gently tap it against the side of the can to remove excess paint. For rollers, load the roller evenly by rolling it in the tray, then roll off the excess on the tray’s grid.
- Use a Paint Guard or Shield: If you’re cutting in near the ceiling or around delicate areas, consider using a paint shield to prevent accidental splatters on surfaces that aren’t supposed to be painted.
6. Paint in the Right Order
To avoid extra clean-up, paint in the proper sequence.
- Start with the Ceiling: If you’re painting the ceiling, always start here to avoid splatters on freshly painted walls.
- Cut in Edges Before Rolling: Use a brush to “cut in” (paint along the edges of walls, around windows, and doors) before using a roller to fill in the larger sections. This technique helps create clean lines and reduces the risk of bumping into taped edges later on.
7. Clean as You Go
One key to keeping your space clean is to clean as you go.
- Wipe Off Paint Drips Immediately: Keep a damp rag nearby to wipe away any drips as soon as they happen. The longer they sit, the harder they are to remove.
- Keep Paint Cans Covered: When you’re not using the paint, cover the can with its lid to avoid spills and drying out.
8. Remove Tape at the Right Time
One common mistake is waiting too long to remove painter’s tape. If you let the paint dry completely, it can peel off along with the tape. For the best results, remove the tape while the paint is still tacky, but not wet, to avoid pulling up fresh paint.
9. Use Proper Cleanup Techniques
Once the paint job is done, cleaning up properly will ensure that any potential mess is contained.
- Clean Brushes and Rollers: If you’re planning to reuse your brushes and rollers, wash them immediately after use with warm, soapy water for latex paints, or mineral spirits for oil-based paints. This prevents dried paint from sticking and creating a mess later on.
- Dispose of Paint Responsibly: Don’t pour leftover paint down the drain. Check with your local recycling centre for proper paint disposal methods.
10. Final Touches and Inspections
Once the paint has dried, inspect the room for any imperfections. Touch up areas that may need a second coat or where the paint didn’t cover evenly. Wipe off any stray paint marks with a damp cloth.
Conclusion
Painting a room without making a mess is all about preparation, the right tools, and careful technique. By following these steps, you’ll have a fresh-looking space with minimal cleanup. Happy painting!
Need professional help with your painting project? Contact us at HD Painting for expert service with a clean, professional finish!
HD Painting Contractor Ltd. provides quality painting, staining and vinyl wallpaper installation. We specialise in completing complex projects on time and within budget using the highest quality products available on the market while providing the quality and service you expect from a family-run operation. Call 519.637.0606 or click here to schedule a time to speak with one of our estimators.
![]()
06-May-2026
By: HD Painting Contractor Ltd.
")


