
How to Prep a Room for Painting: A Step-by-Step Guide
How to Prep a Room for Painting: A Step-by-Step Guide
Painting a room can transform your space, but achieving professional-looking results requires proper preparation. Skipping this essential step can lead to unsightly flaws, uneven coverage, and peeling paint. In this guide, we’ll walk you through the steps to prep your room for painting, ensuring a smooth and long-lasting finish.
Step 1: Clear the Room
Start by removing as much furniture and personal belongings as possible. Large items that can’t be taken out of the room should be moved to the centre and covered with drop cloths or plastic sheets. This will protect your furniture from paint splatters and give you plenty of space to work.
Pro Tip: Don’t forget to take down wall decor, such as pictures, mirrors, and shelves, and cover them as well.
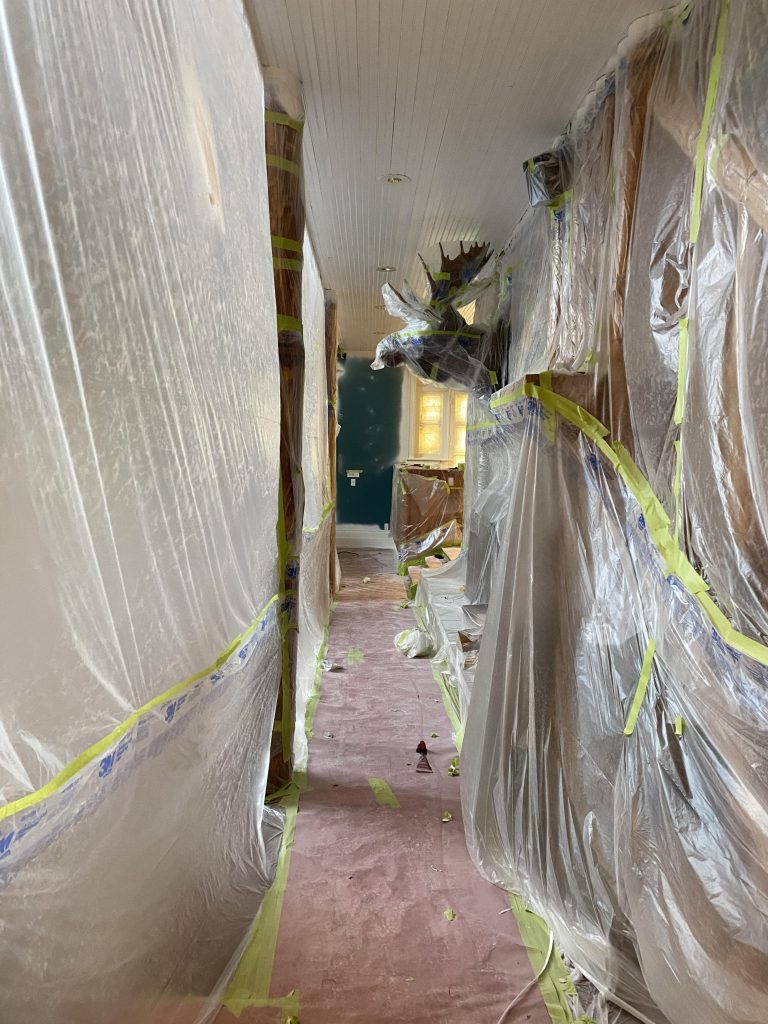
Step 2: Protect Floors and Fixtures
Protecting floors and fixtures is essential for avoiding damage during the painting process. Use drop cloths to cover the floor, and secure them with painter’s tape to prevent them from shifting. Be sure to use canvas drop cloths rather than plastic, as they provide better traction and are less likely to allow paint to seep through.
Pro Tip: Remove light switches and outlet covers to avoid getting paint on them. Label them so you can easily put them back in place once you’re finished.
Step 3: Clean the Walls
Before applying paint, clean the walls thoroughly to remove any dirt, grease, or grime that could interfere with paint adhesion. Use a mild detergent and water for general cleaning, and if there are greasy spots (commonly found in kitchens and lunch rooms), use a degreaser. Once cleaned, rinse the walls with water and let them dry completely.
Pro Tip: Pay attention to corners and baseboards, where dust and dirt tend to accumulate.
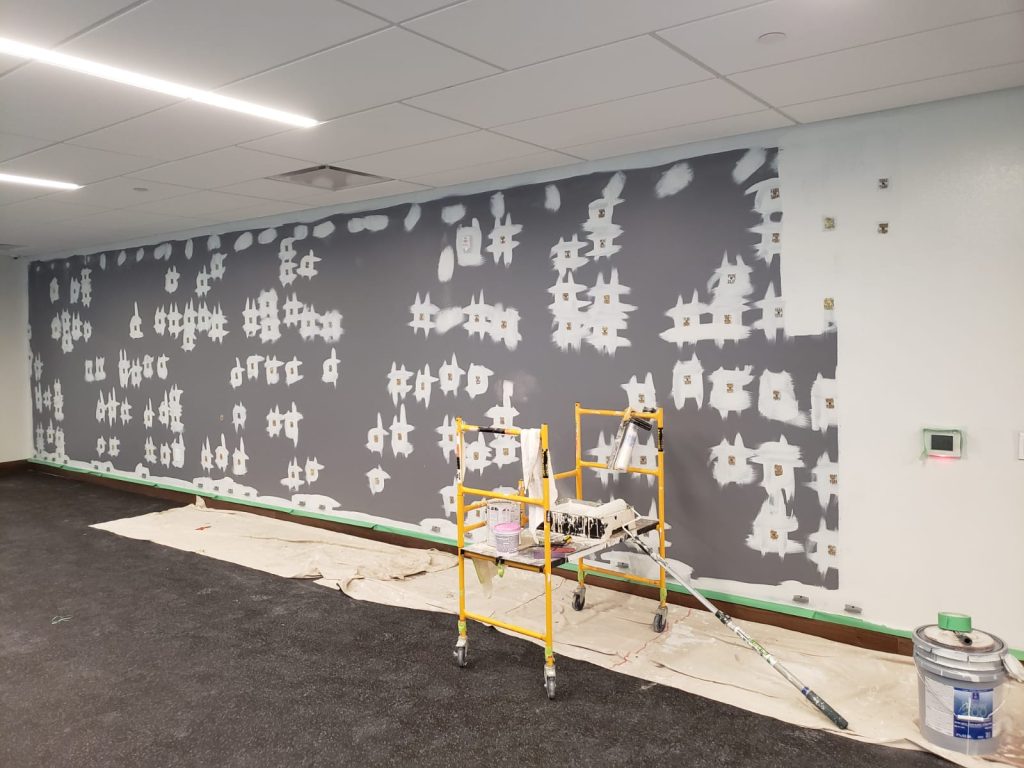
Step 4: Repair Imperfections
Inspect the walls for any cracks, holes, or dents. Use spackle or joint compound to fill in these imperfections, and once it’s dry, sand the area until it’s smooth. This step is crucial for achieving a flawless finish.
Pro Tip: Use a flashlight to shine across the surface of the wall, which can help you identify small imperfections you might otherwise miss.
Step 5: Sand the Walls
Even if your walls are in good condition, it’s a good idea to lightly sand them to create a smooth surface for the paint to adhere to. This is especially important if you’re painting over a glossy or semi-glossy surface. Use fine-grit sandpaper (220-grit is ideal) and wipe away the dust with a damp cloth.
Pro Tip: Sanding also helps to remove any residual wall texture, such as brush marks or roller stipple, from previous paint jobs.
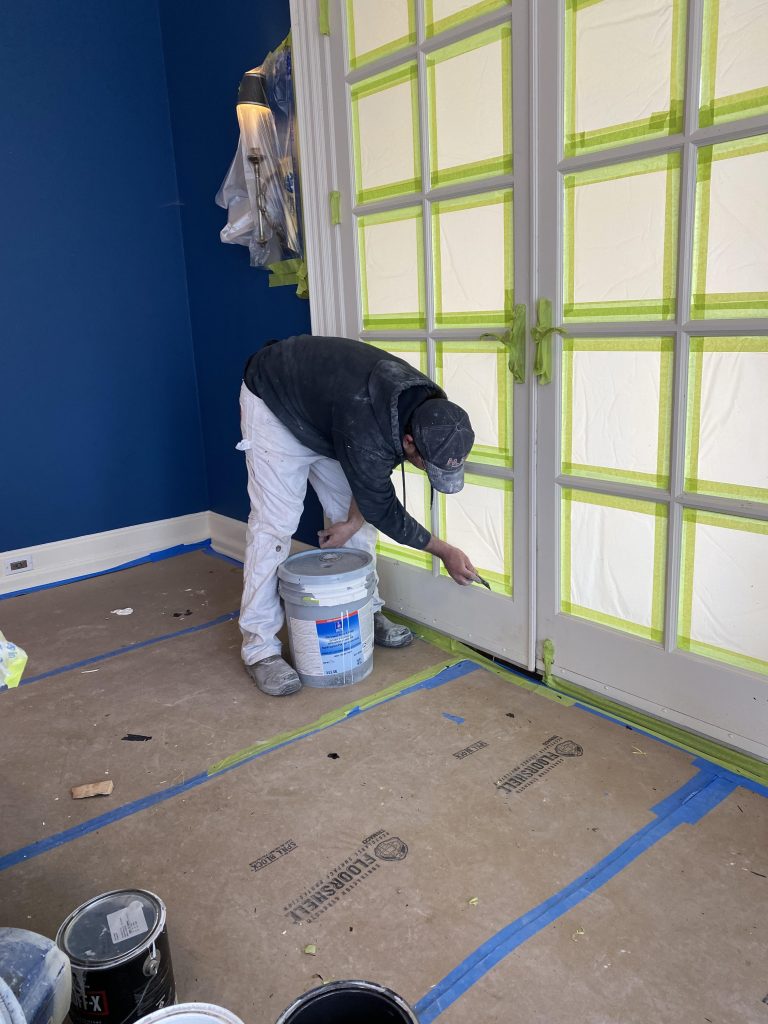
Step 6: Apply Painter’s Tape
Applying painter’s tape around trim, windows, and door frames helps create clean lines and protects these areas from accidental paint splatters. Take your time to ensure the tape is applied evenly and pressed down firmly along the edges.
Pro Tip: Remove the tape while the paint is still slightly wet to avoid peeling off any dried paint along with the tape.
Step 7: Prime the Walls
Priming is an important step, especially if you’re painting over a dark colour, fresh drywall, or stains. Primer helps to block stains, seal the surface, and provide a uniform base for your topcoat. Choose a primer that’s appropriate for your surface and the paint you plan to use.
Pro Tip: If you’re short on time, consider using a paint-and-primer-in-one product, but be aware that this may not work for all situations (e.g., heavily stained walls or drastic colour changes).
Step 8: Ventilate the Room
Good ventilation is important when painting. Open windows and doors to ensure proper airflow, which will help the paint dry faster and reduce fumes. If ventilation is limited, consider using fans or portable air movers to circulate air.
Pro Tip: If you’re working in a space with no windows (like a bathroom), using a low-VOC (Volatile Organic Compounds) paint can help minimise fumes.
Step 9: Gather Your Supplies
Finally, make sure all your supplies are ready to go. This includes paint, brushes, rollers, trays, and any other tools you’ll need. Having everything within reach will make the painting process more efficient.
Pro Tip: Invest in high-quality brushes and rollers for a smoother application and better coverage. Cheap tools can lead to streaky finishes and uneven paint distribution.
Conclusion
Proper preparation is the key to a successful painting project. By taking the time to clear the room, protect surfaces, clean and prime walls, and gather your supplies, you’ll set yourself up for success. Not only will your paint job look professional, but it will also stand the test of time. Follow this guide, and you’ll be ready to roll on your next painting project with confidence!
HD Painting Contractor Ltd. provides quality painting, staining and vinyl wallpaper installation. We specialise in completing complex projects on time and within budget using the highest quality products available on the market while providing the quality and service you expect from a family-run operation. Call 519.637.0606 or click here to schedule a time to speak with one of our estimators.
![]()
2-April-2025
By: HD Painting Contractor Ltd.
")


